Getting Started
Welcome to Formito! It’s an easy-to-use tool for collecting data and building micro-services. We want to make data collection as easy and conversational as possible – this article shows you the basics.
Dashboard
This is where you land after login. It has a sidebar and main content. The sidebar includes actions for switching workspace, change settings, view templates, add a new form, and view a list of them. The main content shows the latest responses collected for any of your forms. You can view individual responses by clicking on any specific form from the sidebar.
Workspaces
Think of workspaces as a business, you might want to create a workspace for each of your businesses. We created workspaces so you can organize your team and forms. The default name of your workspace is “My Workspace”, but we suggest to rename it to your business name from the settings page.
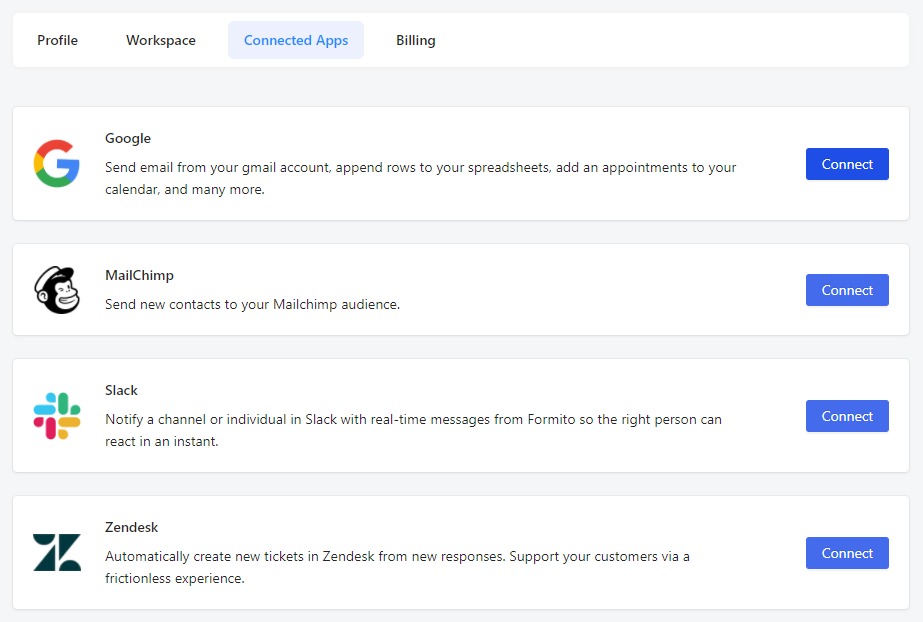
Connect
You can connect different 3rd-party applications to your workspace such as your Google account, Slack, MailChimp, Zendesk, etc. Each of these tools has one or multiple actions inside the builder to help you send data directly to them. For example, if you connect your Google account, you’d be able to send an email to a respondee using your own Gmail account or send all the responses directly to a Spreadsheet on Google Drive. For another example, if you connect your Slack account, you can send a message in a Slack channel as soon as someone starts working with your forms, or the whole response after they finished the form.
Create Formito
There are multiple ways to create a Formito, but all starts with clicking on the “Create Formito” button. On the new page, you have options to create a blank formito, copy a template chatbot, or convert from other tools to formito.
Start Blank
This option is selected by default. Once you click on the “Create Formito” button, an empty formito creates in your workspace. It does not contain any message or input, but you can add them in the builder.
Templates
A template is a quick way to get started with a form. Browse our template gallery, find one that fits your idea, and work from there.
Let’s say you want to make a contact us form. You can find a template for that, and it’s quicker than starting from scratch. Templates are also a neat way to see what you can do with Formito, so take a look around!
You can preview and peek at a template before making a copy of it. Move your mouse cursor on a template to see these options. The preview button opens the template in a new window where you can interact with. The peek button Opens the form in our builder where you can find out how we built this. Very great way to learn about our builder. Finally, To generate a copy of this template in your workspace, click on a template to select it and then click “Create Formito”.
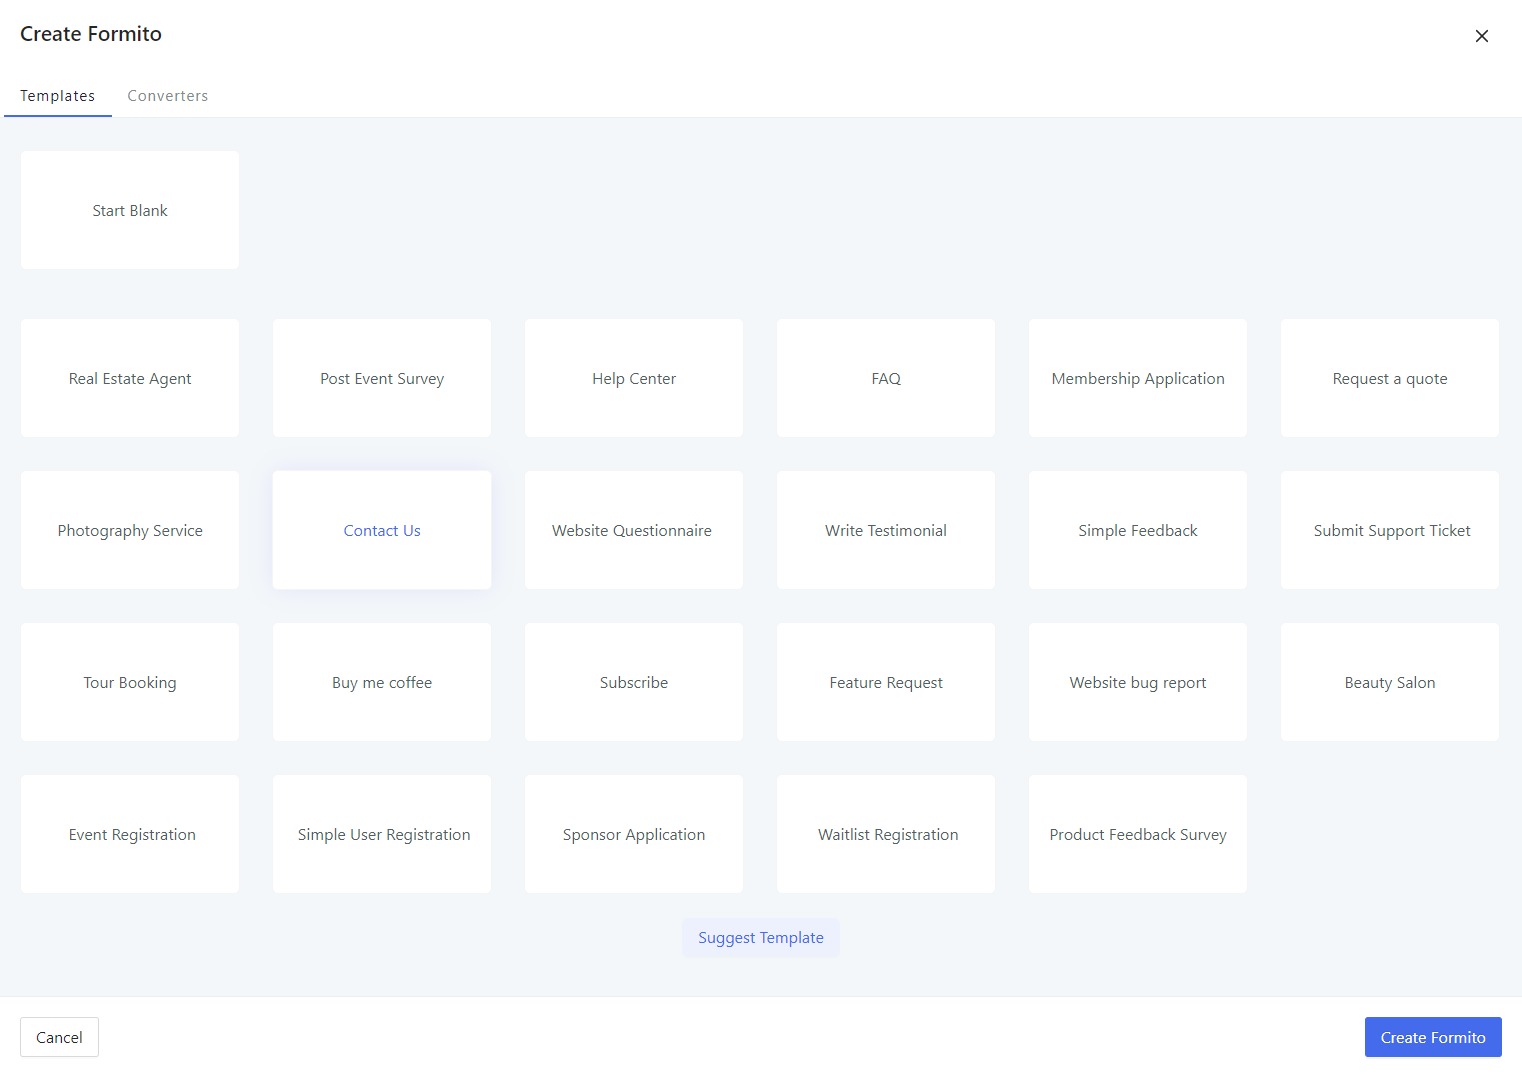
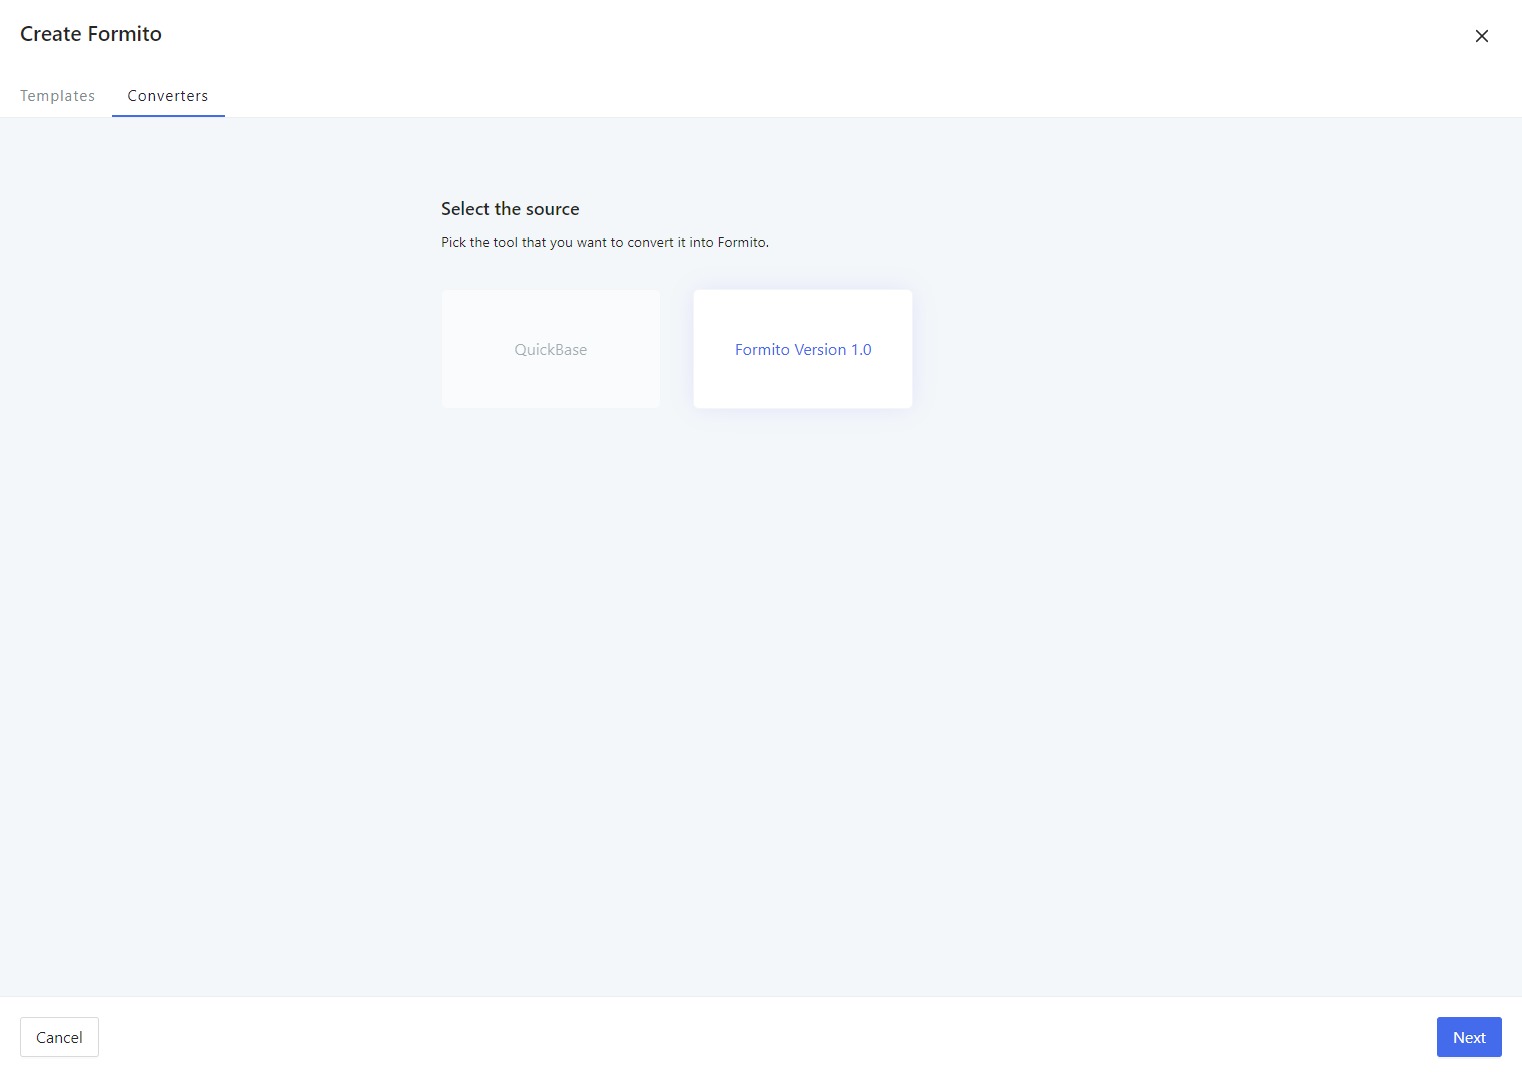
Converters
Building a formito can’t be this easier. With this converter, you can convert a table, form, or even another chatbot to a formito with a few clicks! We are adding new converters every month to make a powerful tool for people to get started rapidly. Simply click a converter to select it, then click the “Next” button to start the convert tool.
Build
Click on a form in the sidebar to view the records page. Then, click on the “Build” button on the top-right side of the page to open the builder.
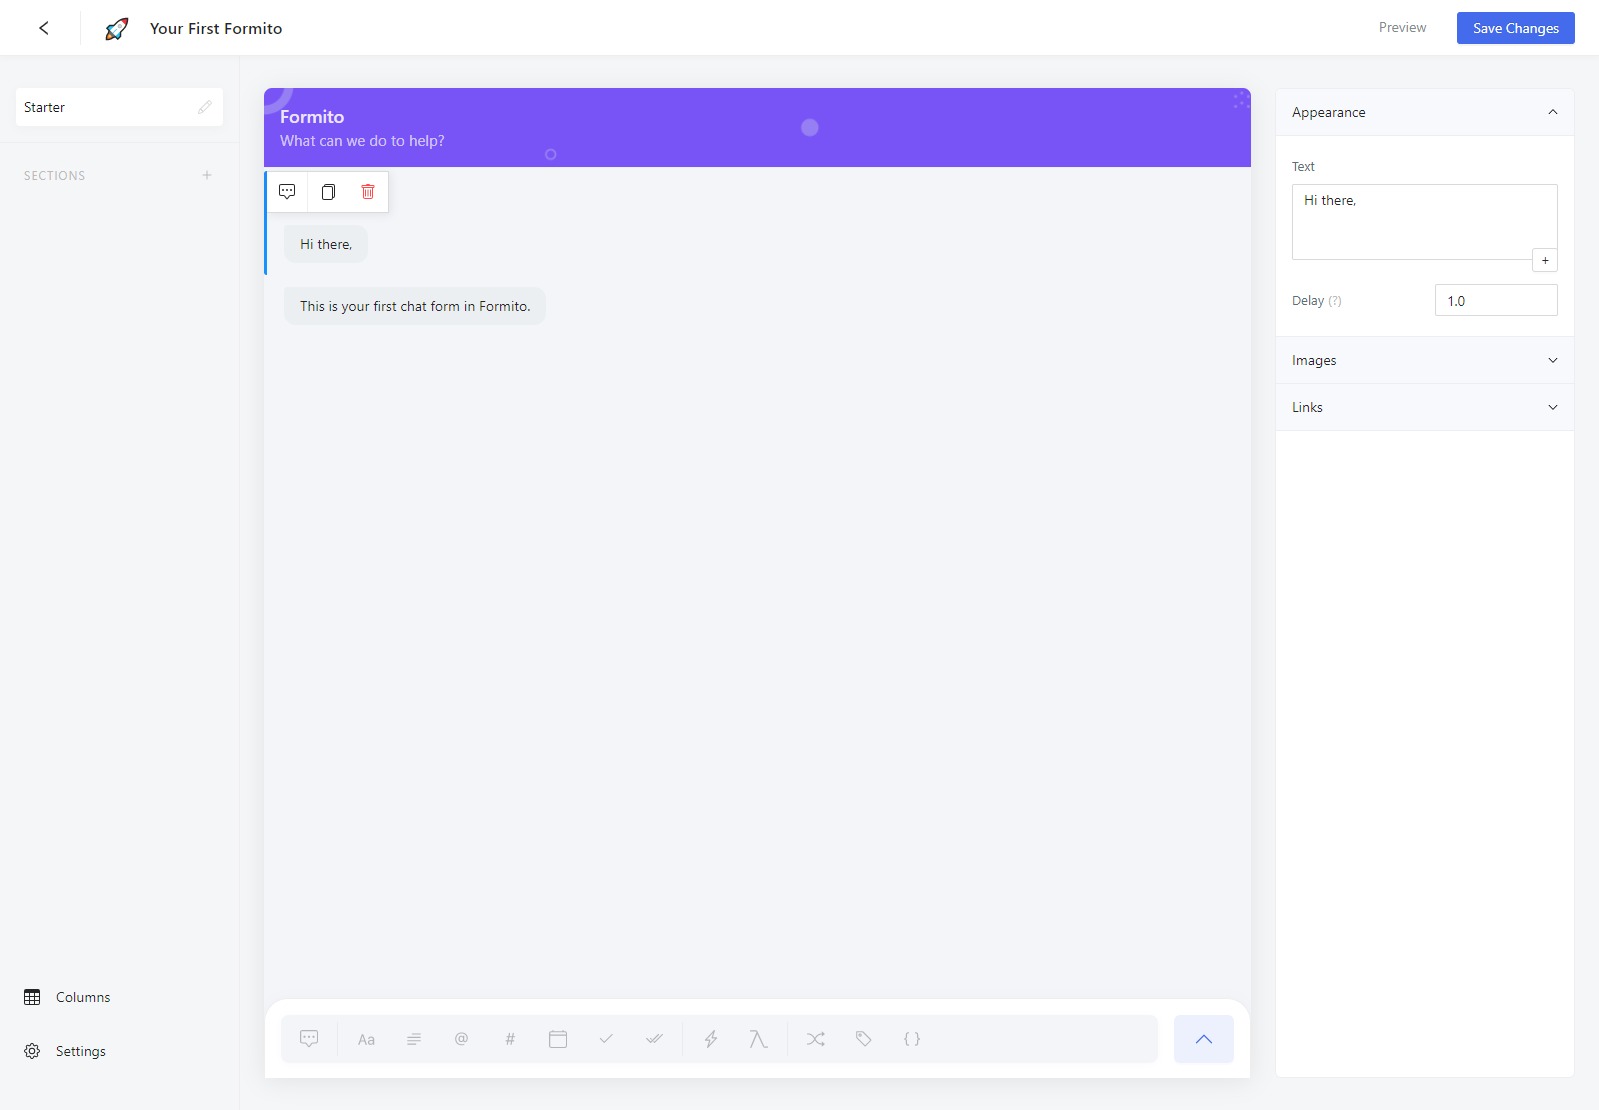
Layout
We can separate the layout of the builder into four groups:
Header: Located at the top of the builder, and it includes actions to exit the builder, change the icon of the form, rename your from, preview, and save changes.
Navigation: Is located on the left side of the page. It allows you to create a new section and navigate between them. Also, your form settings and data structure are accessible from here.
Editor: This is the main part of the builder where you can preview what you are building. Changing the cover, adding or removing blocks, reordering them, etc. are the editor’s main responsibilities.
Inspector: Located at the right side of your editor, is where you can configure your blocks. Clicking on a block inside the editor, makes that block selected. Once a block is selected, you can change its behavior from the inspector.
Blocks
There are three different types of content blocks you can add to your forms. Here's a full list of blocks we support at the moment.
Presentation Blocks
- Message: Say something or display images or links to your audience.
- Accordion: Say something or display images or links to your audience.
- Navigation: Send the user to continue in another Formito.
Input Blocks
- Short Text: If you want a short written answer from people.
- Long Text: If you want people to write long answers.
- Number: Only accepts numbers as an answer.
- Email: Only accepts correctly formatted email addresses as answers.
- Select: Give your audience options to choose one of them.
- Multi Select: Give your audience options to choose multiple of them.
- Date: Allows respondents to pick a date.
- Time: Allows respondents to pick a time.
- Phone: Allows respondents to enter a phone number.
- URL: Allows respondents to enter a website URL.
- Upload: Allows you to ask respondents to upload a file.
- Payment: Allows you to sell things and accept payments.
Logic Blocks
- Action: Instantly act on your data, e.g. notify a Slack channel
- Lambda: Modify content of your values, like increase a value by one.
- Label: Define a point in your script, so you can jump to it.
- Jump: Jump to a specific part of your chat form.
- Include: Include all blocks from another section on run-time.
Share
Preview your form to see how it will look to your respondents before you publish it on your website. Click on the form you want to publish from the sidebar, and then click on the share button to view our share modal. There are multiple ways to share your creation:
- Link: When you want to share a direct link to your form to anyone on any platform
- Popup: When you have a website and you want to display the form after clicking on a link or button, or even show a floating action button to trigger your chat form.
- Embed: If you have a website and would like to show your chatbot to all visitors without asking them to click on a link or button.